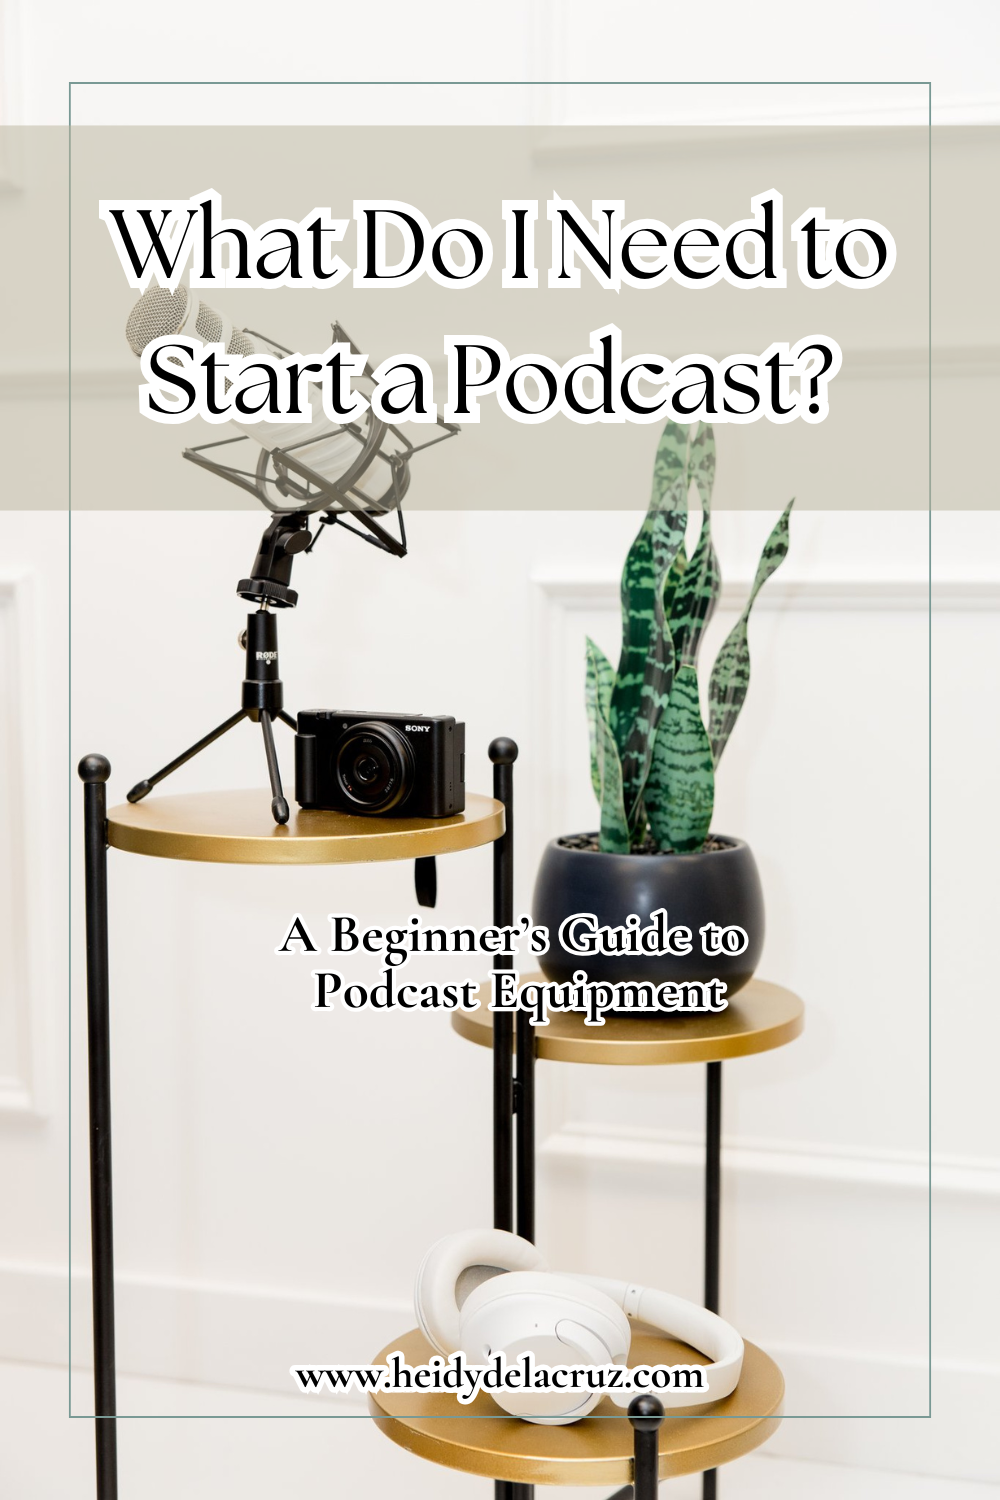
You’ve decided to start a podcast—amazing! And you’re looking to answer the question What podcast equipment do I need to start a podcast and you’ve landed here, GREAT! So, whether you want to share your story, amplify your voice, start an online business with your podcast, or connect with your audience in a new way, podcasting is one of the most powerful tools out there. But once you’ve nailed down your topic and format, the big question hits:
“What podcast equipment do I actually need?”
Don’t worry—you don’t need a full recording studio or thousands of dollars in gear to sound professional. You can actually get great equipment for less than $100! And in this post, I’ll break down the essential podcasting equipment you need to get started (and what’s nice to have later).
P.S. This is week three of The V.O.I.C.E. Method of launching your podcast.
1. A Good Microphone (Your #1 Investment)
If there’s one thing you should invest in, it’s your microphone. Clear, crisp audio makes a world of difference for your listeners. I’ve learned that people will watch bad video, but they will not listen to bad audio, so investing in a good microphone is a must. One thing you need to ensure is that the microphone is dynamic.
Two main types of mics:
- USB Microphones: Plug directly into your computer—perfect for beginners.
Examples: Maono PD100U, Samson Q2U, Rode Podcaster. - XLR Microphones: Offer higher quality but require an audio interface or mixer.
Examples: Shure MV7 (hybrid USB/XLR), Rode PodMic, or Shure SM7B (for advanced setups).
*Affiliate links for microphones I’ve used.
Tip: Avoid using your laptop’s built-in mic—it picks up too much background noise and echoes. But a way to get around this is running your final episode file through Auphonic.
2. A Reliable Computer or Laptop
You don’t need the latest MacBook Pro, but your computer should handle recording and editing software without freezing. Most modern laptops or desktops will do just fine.
Make sure you have:
- Enough storage for large audio files
- A quiet environment (fan noise can sneak into your recording!)
But if you do want to update to the latest MacBook Pro*, here is the one I currently have! It is fantastic for handling and editing large files. I started with a MacBook Air, but it quickly couldn’t handle everything I needed for my podcast. Bonus is that MacBooks come with GarageBand, which can be used for editing purposes.
3. Headphones
Headphones help you monitor your sound in real-time and catch issues like background noise or volume imbalances.
Look for closed-back headphones to block outside noise and prevent sound leakage.
Examples: Audio-Technica ATH-M20x, Sony WH-CH720NW, or Beyerdynamic DT 770 Pro.
*Affiliate link for the headphones I use.
Tip: Avoid Bluetooth headphones—they can cause latency (a slight delay between speaking and hearing yourself).
4. Pop Filter or Windscreen
This small but mighty tool softens harsh “p” and “b” sounds that can pop in your recording.
- Pop Filter: Sits in front of your mic and catches those plosive sounds.
- Windscreen: Foam cover that slips over your mic to reduce air and breath noise.
They’re inexpensive but make your audio sound instantly smoother. I personally don’t use it, so I cannot give personal experience, but if you want to get one, go for it.
5. Mic Stand or Boom Arm
Holding your mic while recording is uncomfortable (and noisy). A stand or boom arm keeps your mic stable and at the perfect distance from your mouth—about 2–3 inches away.
Examples: InnoGear Boom Arm, Rode PSA1+, or even a simple desktop mic stand. And some mics come with a stand, such as the Maono mic mentioned above.
*Affiliate link for the one I use.
6. Recording & Editing Software
You’ll need software to record and edit your episodes. Luckily, there are both free and paid options depending on your budget and comfort level.
Free options:
- Audacity: Great for beginners—simple and effective.
- GarageBand (Mac): User-friendly and already built into your Mac.
- CapCut: This can be used for audio-only and video.
Paid options:
- Adobe Audition: Professional-grade with advanced editing tools.
- Descript: Designed specifically for podcasters and storytellers.
Tip: Don’t overthink editing at first—focus on clarity and good content. You can always upgrade your tools later.
7. Optional But Helpful Add-ons
Once you’ve got the basics, these extras can enhance your podcasting workflow:
- Audio Interface: (if using an XLR mic) like Focusrite Scarlett 2i2 or Rode AI-1.
- Acoustic Panels or Foam: Reduce echo and improve sound quality.
- Portable Recorder: Great for interviews on the go (Zoom PodTrak P4 or Tascam DR-40X).
Final Thoughts on Podcast Equipment
Starting a podcast doesn’t have to be expensive or complicated. Focus on clear audio, consistency, and authentic storytelling, and your listeners will keep coming back for more.
Start simple, master the basics, and upgrade as you grow. Remember, it’s your voice and message that make your podcast special—not the price tag of your mic.
Bonus: My Quick-Start Podcast Equipment Checklist
Download it here.
With Love, Heidy
Sign up for my newsletter to receive free weekly podcast coaching from me!
Other Posts You May Enjoy: